



October 13, 2016
HOW TO MAKE 3D HALLOWEEN SPIDER INVITATIONS!
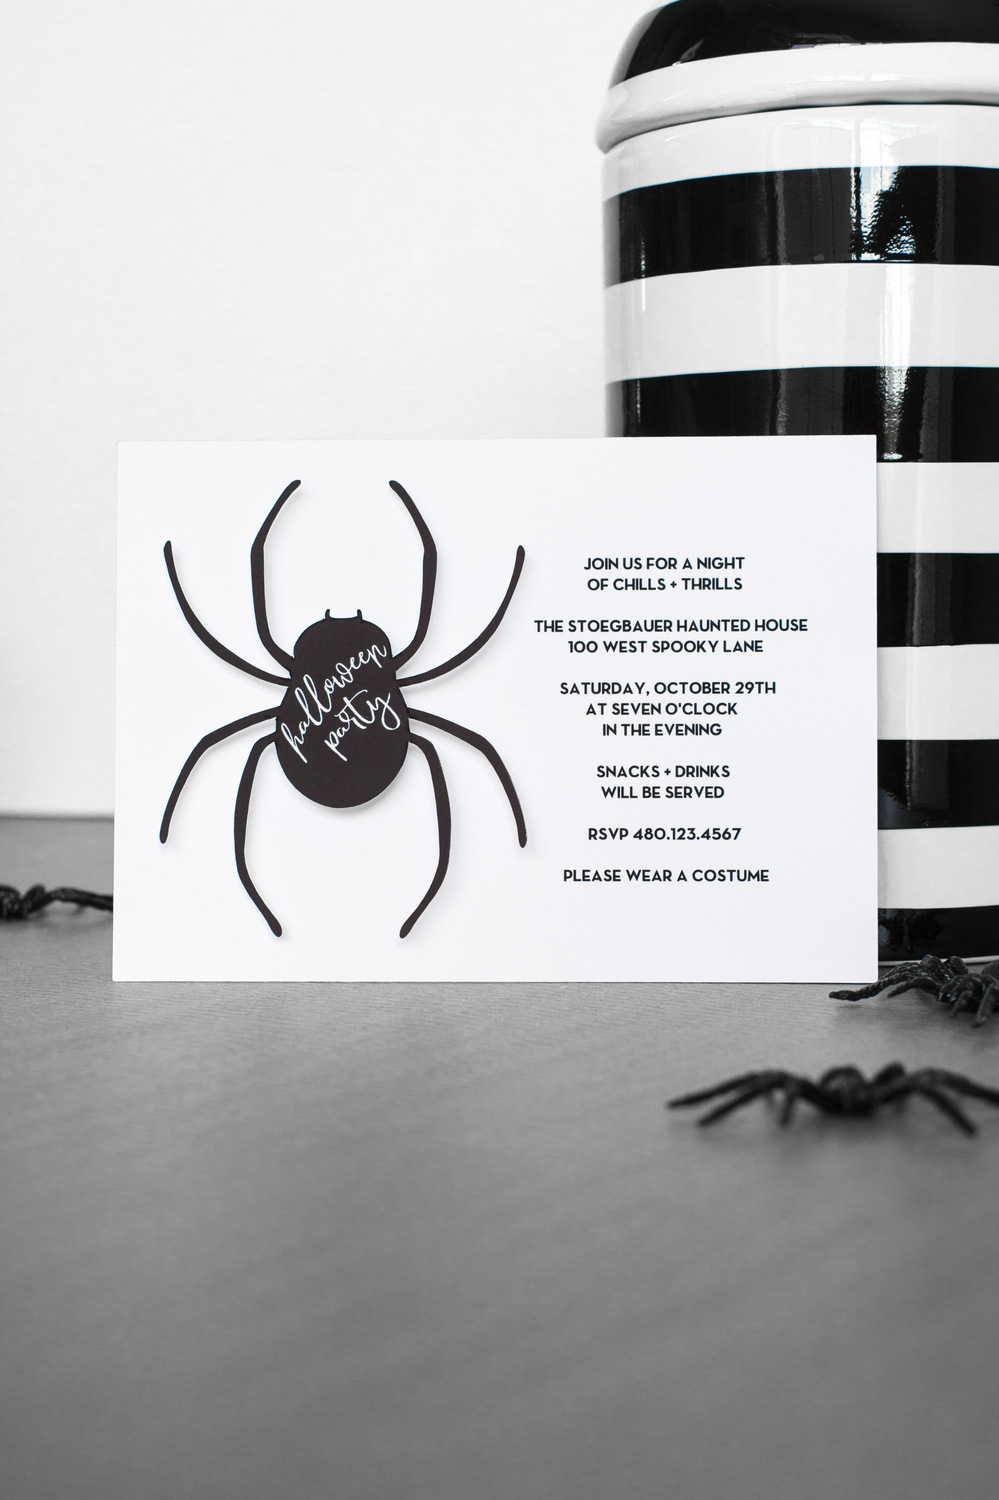 It’s that time of the year when costumes, candy, and haunted houses are on the mind! Halloween is such a fun time of the year, so we designed these fabulous spooky spider invitations, that you can easily make using your Cricut Explore! Mail or hand deliver these spooky spider invitations a few weeks in advance, to get your guests excited for the Halloween celebration! My favorite part? The spider “pops” off of the page to create a 3D effect!
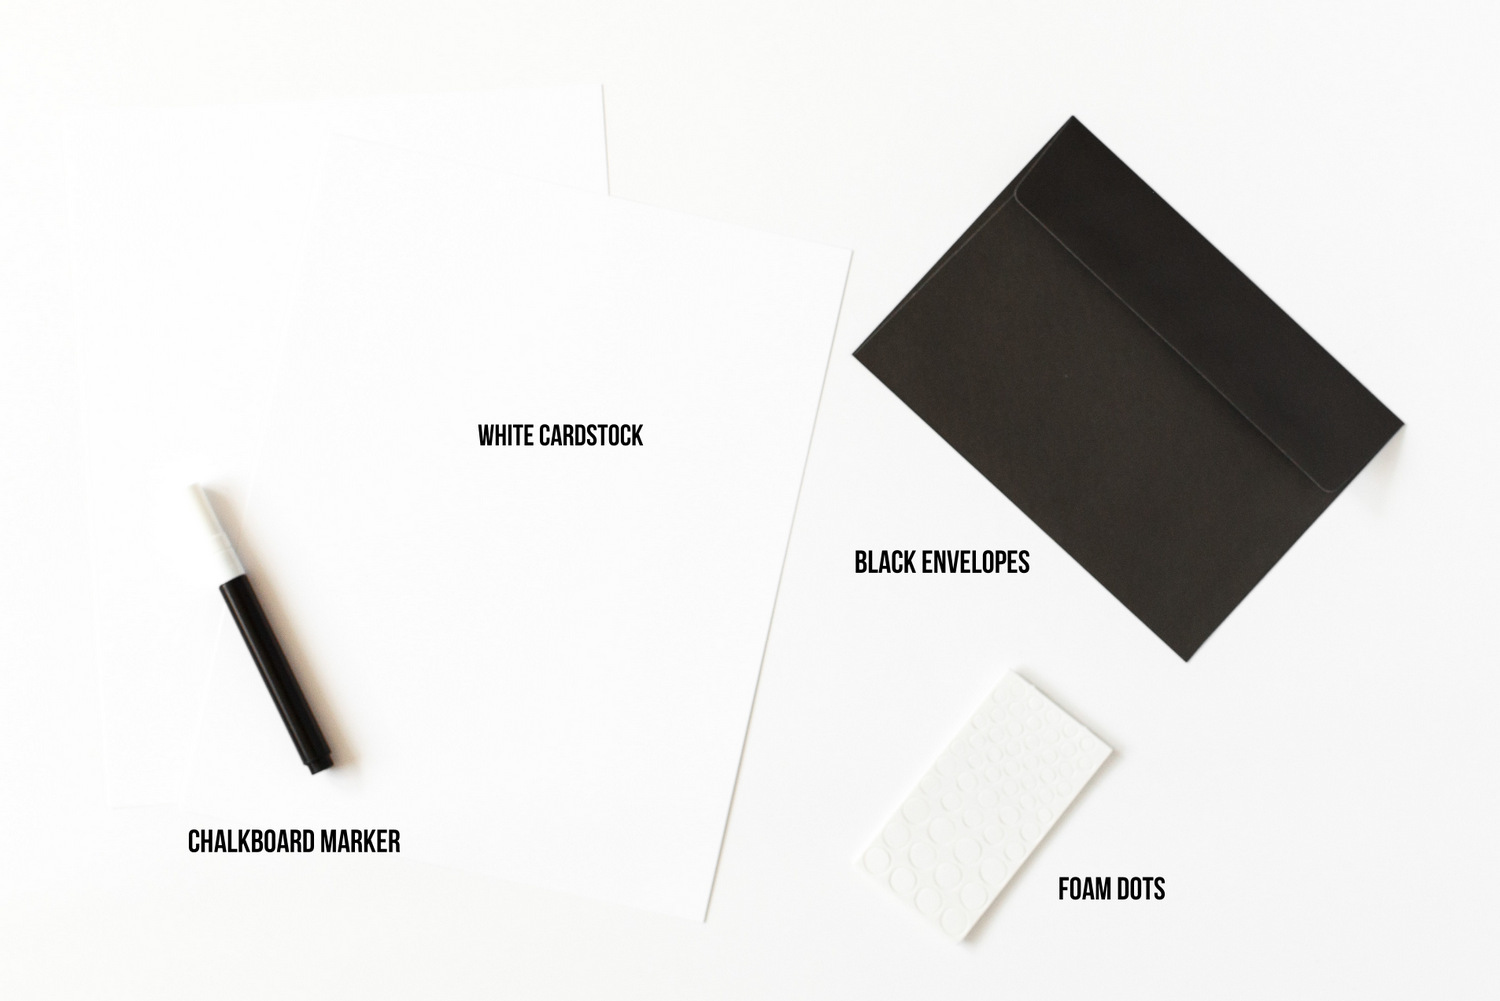 Materials
Cricut Explore Machine™
Cricut Design Space Software™
12″ x 12″ Standard Cricut® Mat Printer
8.5″ x 11″ White Cardstock or Photo Paper (2 sheets per invitation)
Foam Dots
A7 Envelopes
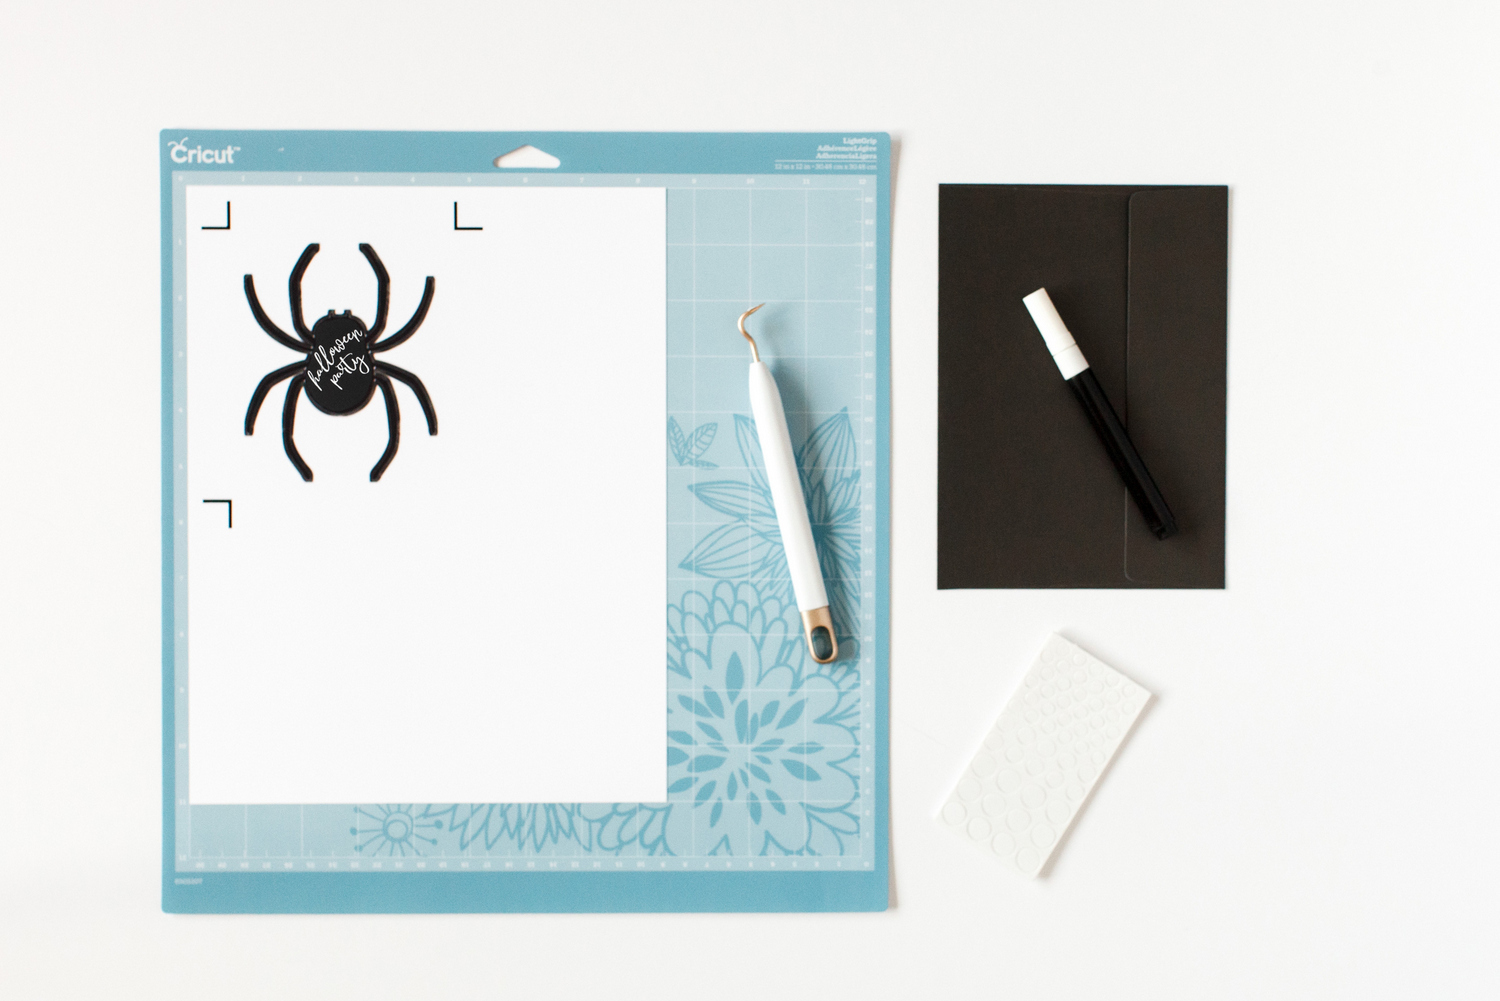 Prep: Open invitation project in Cricut Design Space.
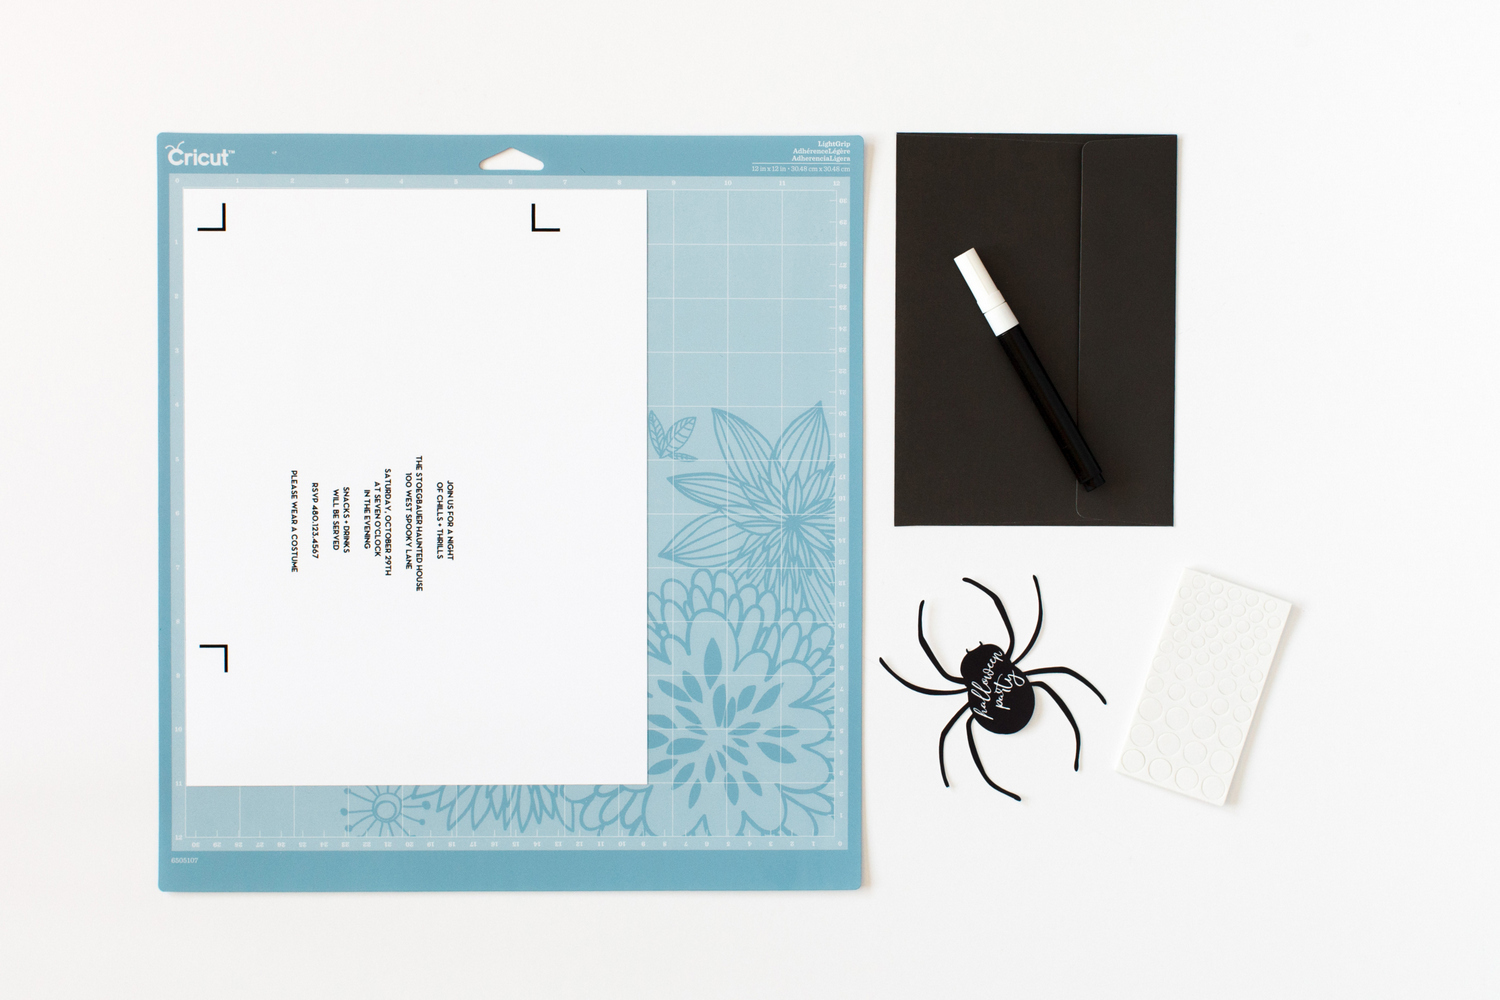
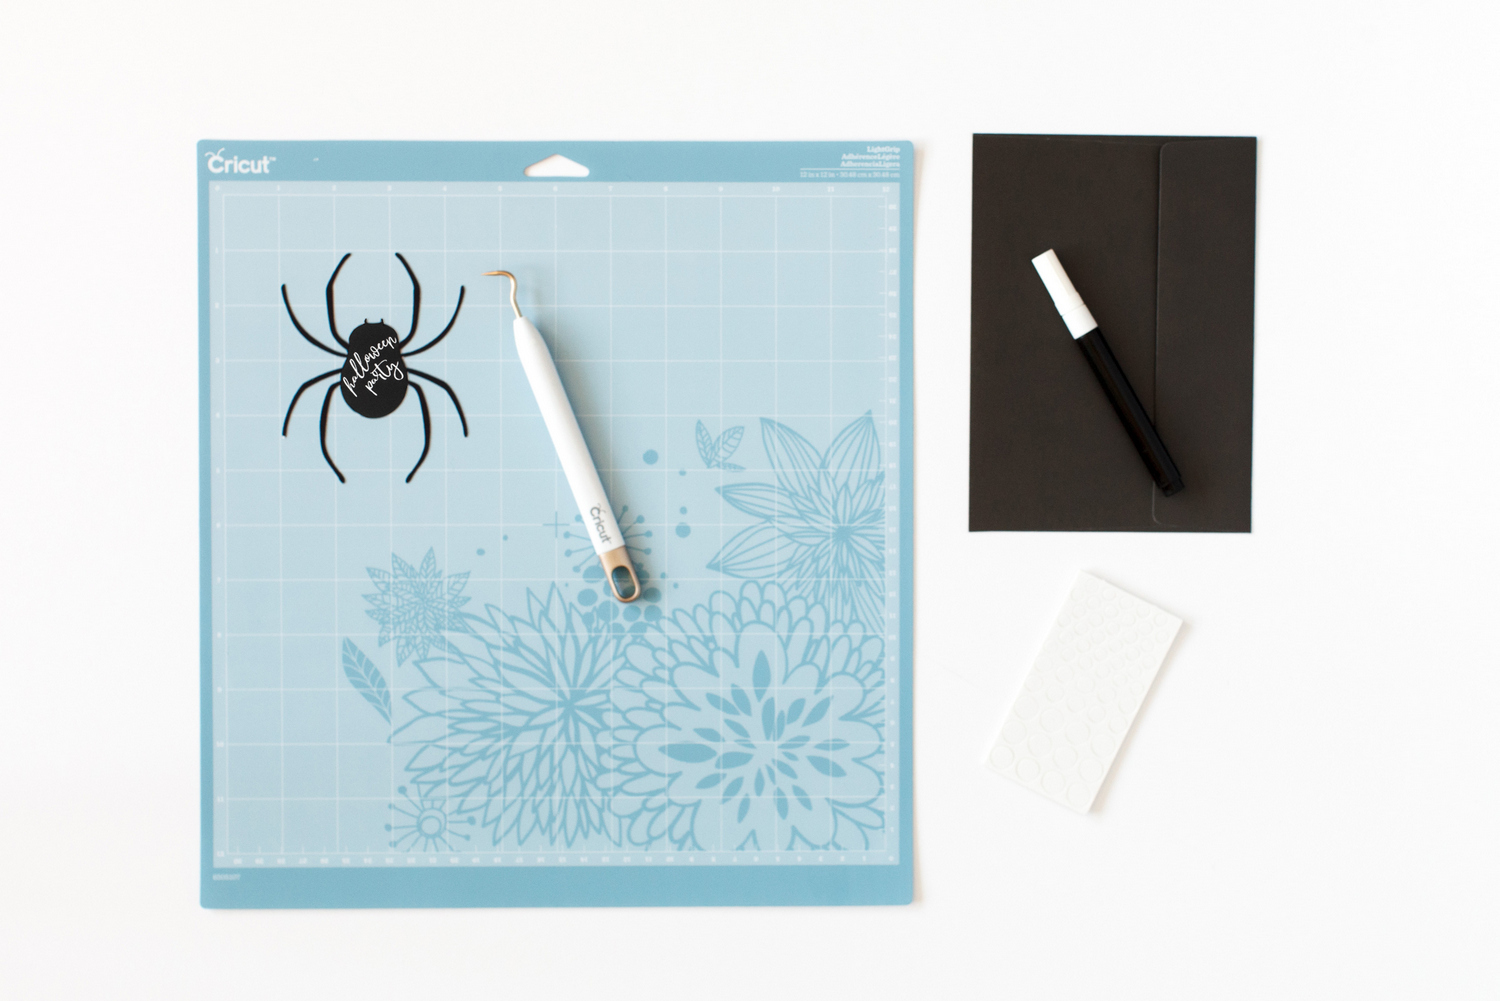 Print + Cut: Customize invitation with your text. Print, then cut spider. Print, then cut invitation.
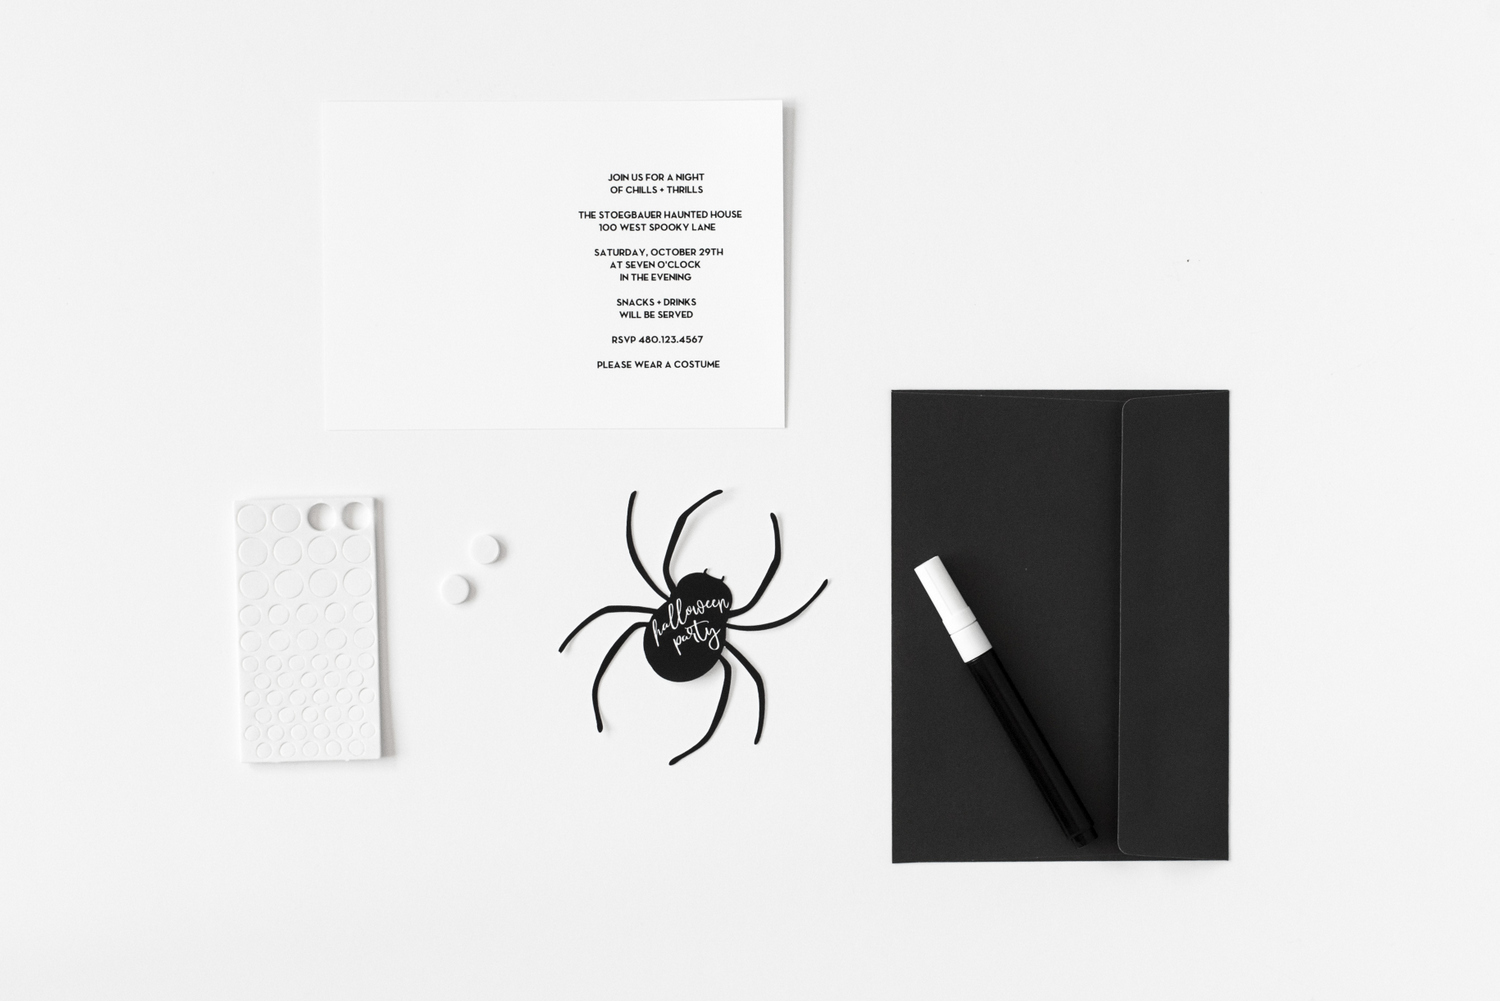
 Assemble: Use foam dots to attach the spider to the invitation.
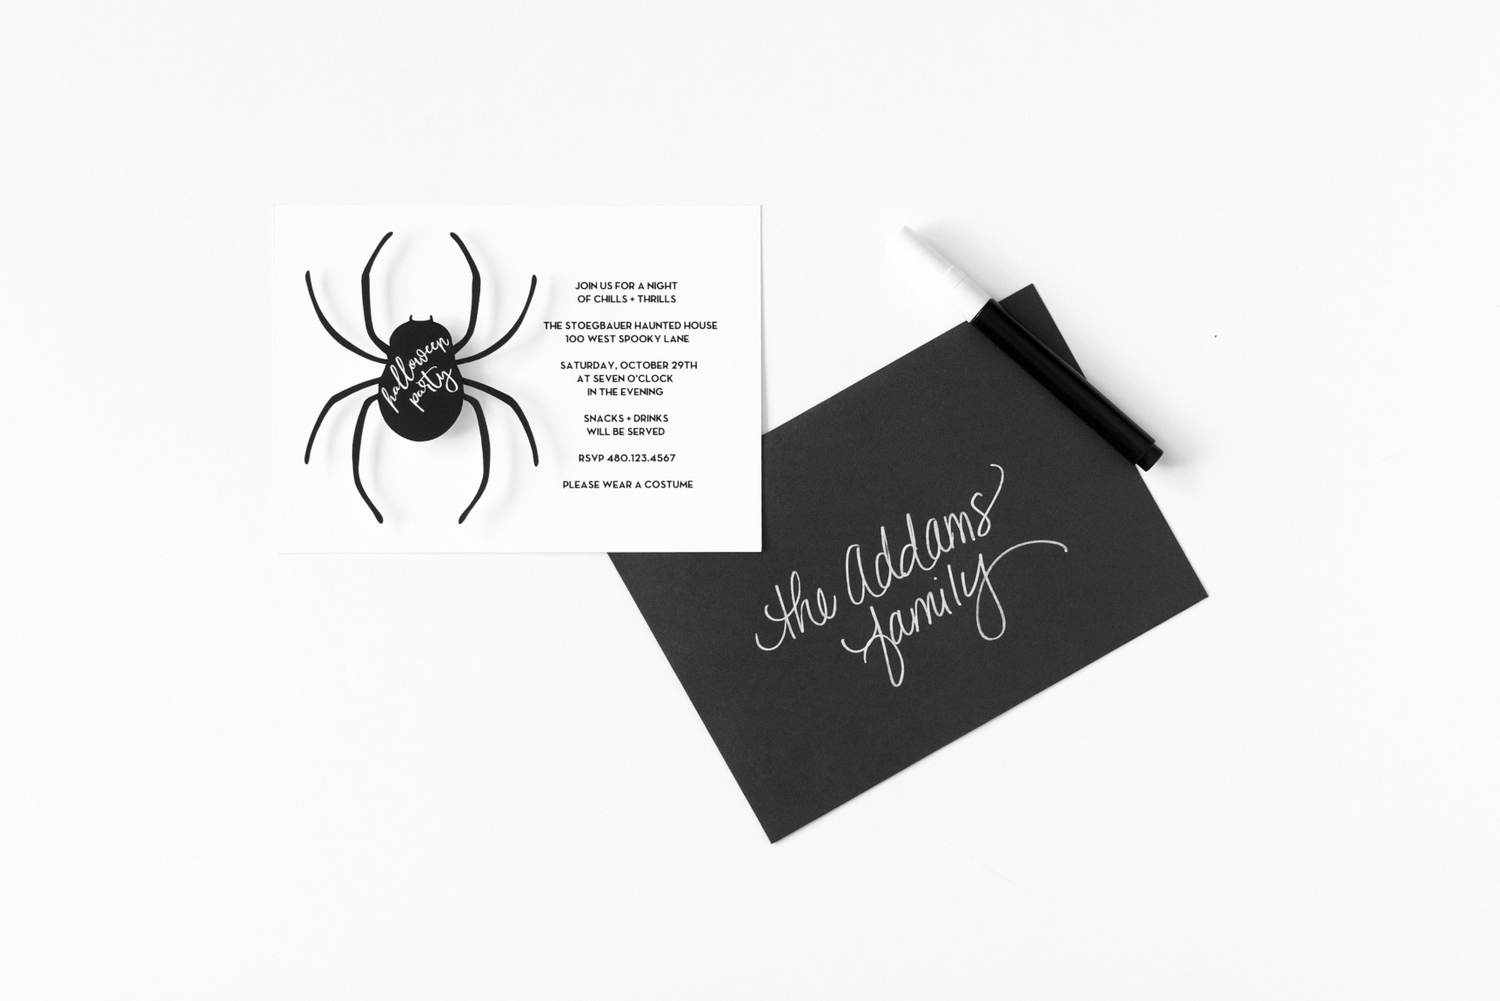
For a fun Halloween touch, use black envelopes. A white chalkboard marker is perfect for addressing the envelopes!
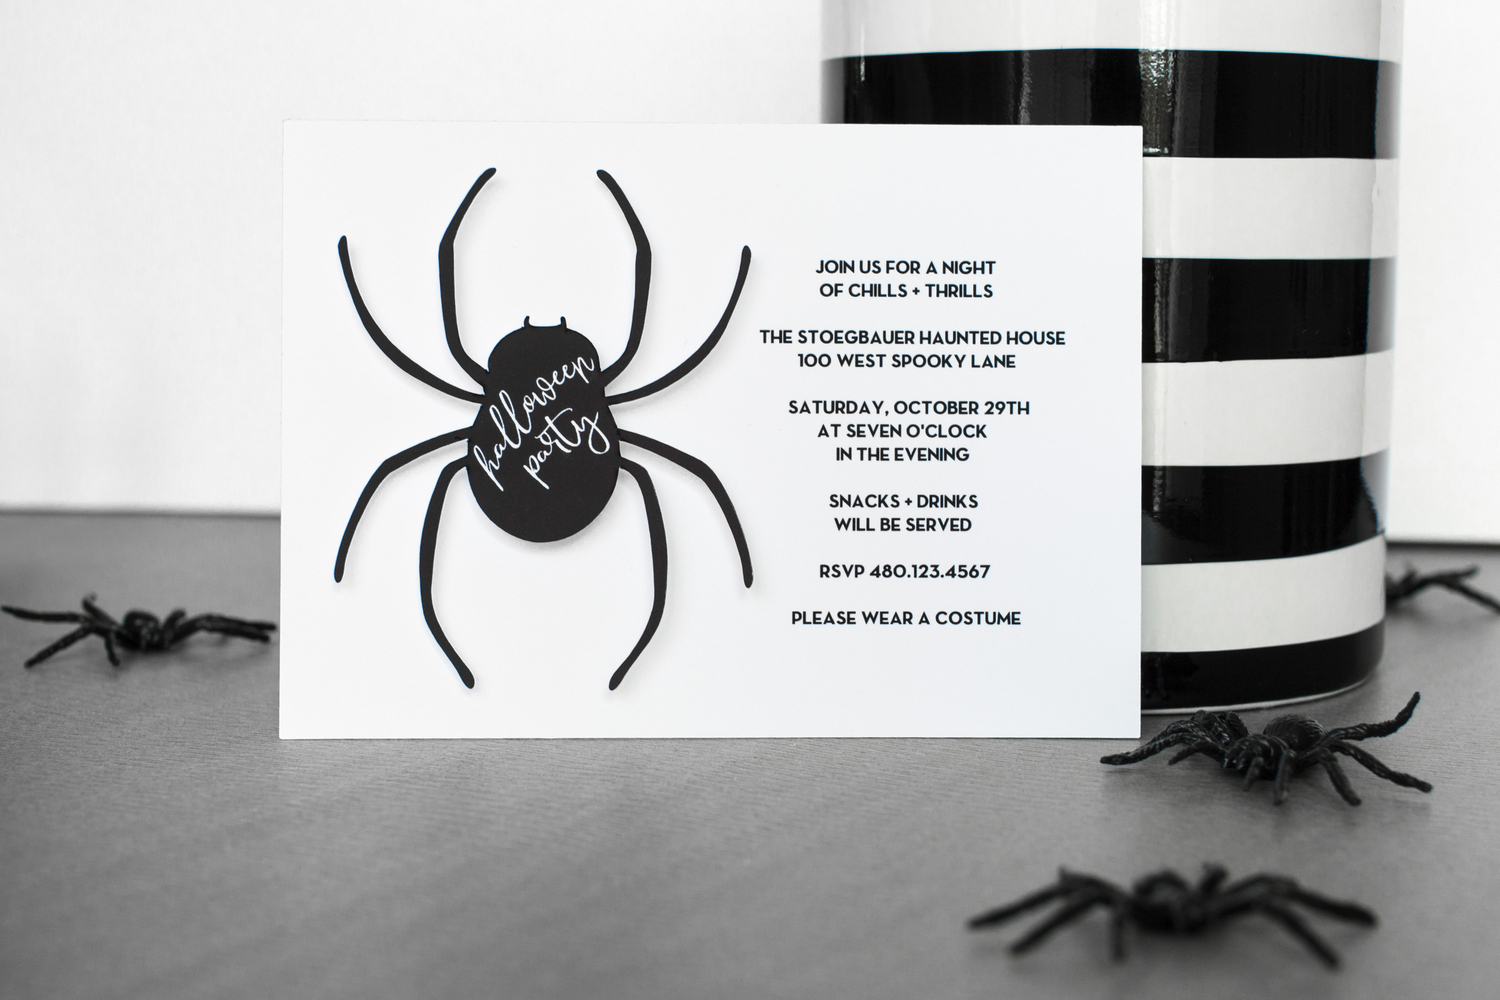 Time to get this party started by creating your party invitations!
Design/Styling | The TomKat Studio
Photography | Rennai Hoefer, Ten22 Studio









Leave a Reply