welcome to
The tomkat studio blog
Search
{14 Days of Sweet Valentine's Day Ideas} Stained Glass Heart Cookie Pops by The Decorated Cookie!
Share To:

We hope you loved the Chocolate Heart Sandwich Cookies that The Decorated Cookie shared with us a few days ago! This one is a little more adventurous…….
STAINED GLASS HEART COOKIE POPS
Make heart cookie pops extra special with a tiny little stained glass window and painted lollipop stick. If you let these cookies dry overnight, you can wrap them as favors or for Valentine’s Day gifts. Just slip a cellophane bag over the cookie and tie with a ribbon.
How to Make Stained Glass Heart Cookie Pops
You Will Need:
cookie dough (recipe here)
royal icing (recipe here)
3-inch heart cookie cutter
3/4-inch heart cookie cutter
lollipop sticks
food coloring (red, pink and/or white)
sprinkles or sanding sugar (red, pink and/or white)
disposable decorating bags
decorating tips (size 5)
couplers
rubber bands
red or pink hard candies, like Jolly Ranchers
Ziploc bag
hammer or mallet
parchment and wax paper
small paint brush (optional)
*Find the heart cookie cutters in the craft store. The mini heart may be part of a fondant cutter set. Also find the lollipop sticks, sprinkles, decorating bags, tips, couplers and paint brush in the craft store. Find parchment paper in the supermarket. For food coloring, I prefer Americolor soft gel pastes (Electric Pink, Red Red and/or White).
Step One: Bake Your Cookies
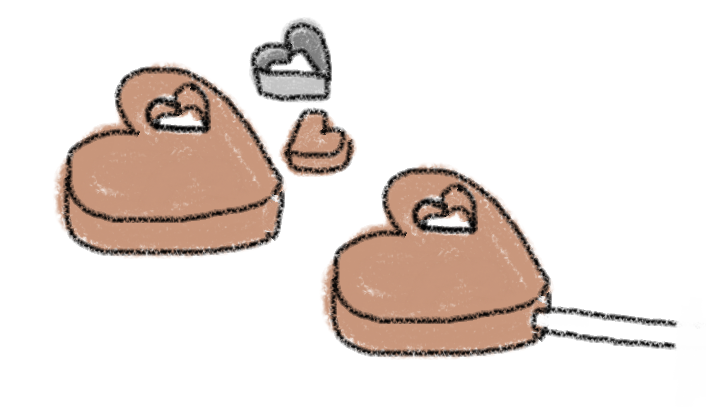 Follow the link above for the sugar cookie recipe. Roll out your chilled cookie dough 3/8 inch thick. Cut out a large heart, then cut out a mini heart towards the top and to the side (to allow room for the lollipop stick).
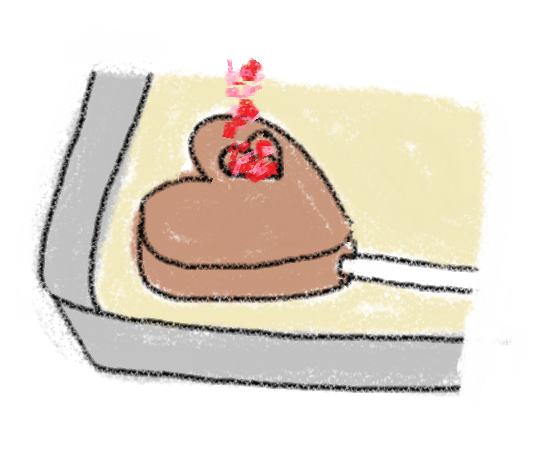
Insert a lollipop stick about half way into the cookie, being sure no stick pokes through the back or front of the cookie. Arrange cookie pops on a baking tray lined with parchment paper. Unwrap candies and place in a Ziploc bag. Smash with a hammer and mallet.
Fill the mini heart spaces in the cookie with crushed candies. Bake cookies according to recipe. Candy will be bubbly. Let cool completely and let candies harden completely, several hours.
Step Two: Prepare Your Icing
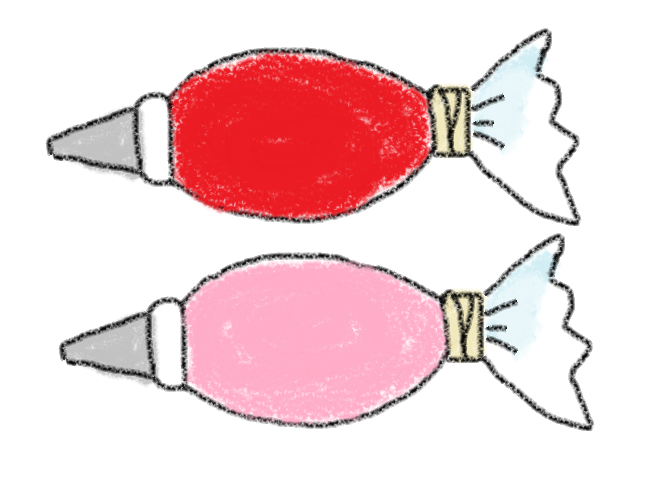 Prepare icing and tint desired colors. I used pink and red. Prepare decorating bags with couplers and tips. Fill the bags with your icings and close tightly with rubber bands.
Step Three: Decorate Your Cookies
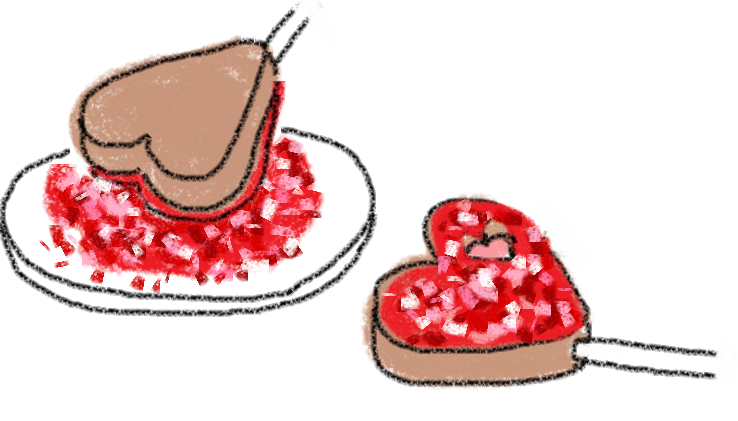
Pour sprinkles on a small plate. Work with one cookie at a time. Pipe an outline of icing on the heart cookie, being sure to outline around the mini heart, too. Pipe back and forth in a zig zag motion to completely fill the cookie with icing.
Immediately dip the top of the cookie in the sprinkles. Let dry.
Step Four: Paint Your Lollipop Stick (optional)
If desired, paint the lollipop stick. Pour a couple drops of pink coloring on a plastic plate or a piece of parchment or wax paper. Add a drop of white coloring and mix with a wet paint brush. Paint the lollipop stick paint and rest cookie on wax paper to dry. Add red coloring to the plate and mix with a drop or two of water. Paint stripes on top of the pink.
And there you have it! These are so unique and sure to impress!
HAPPY VALENTINE’S DAY!
Thank you again Meaghan for sharing your ideas with us!
 Meaghan, The Decorated Cookie
{Visit Meaghan’s blog}
February 14, 2011
Post Date:
Leave a Reply
SUBSCRIBE
Don't miss a thing! Subscribe to our email list to keep up with our latest projects, listings, blog posts and giveaways!



Unique & lovely!! Happy Valentine’s Day TKS gals!
Thank you, Jill! We hope you baked up dozens upon dozens of your red velvets for today! 🙂
Love this they are very Pretty! Thanks 4 sharing!
Great minds think alike! 🙂
Very cute, for those very special people who can only appreciate the time that goes into making a cookie like yours!
Super cute! Lollipop and cookie all in one! I am sure my kids {3 & 4} would love these.
Hi! I really love your adorable idea of the stained glass window cookie and was wondering if I could link the recipe AND use the photo in a blog post. Please feel free to email me. 🙂 I appreciate your time.