welcome to
The tomkat studio blog
Search
Rainbow Sprinkle Surprise Pops :: Recipes
Share To:
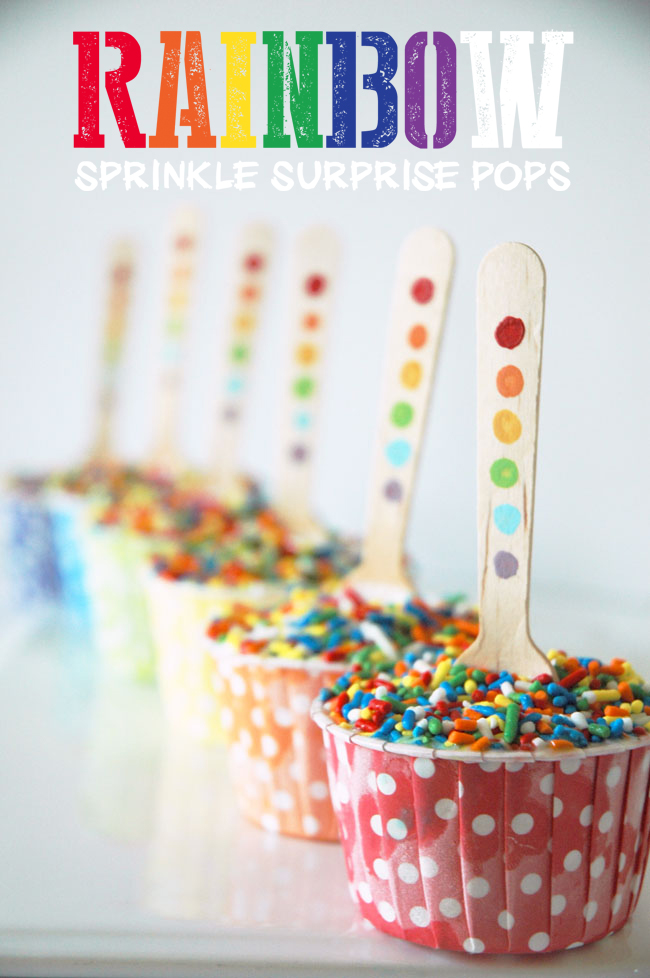
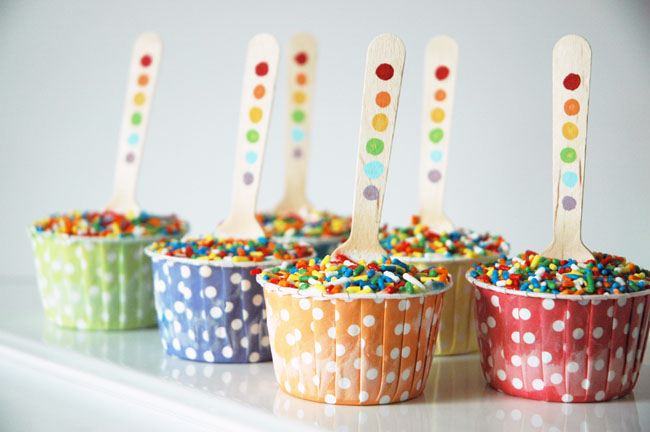
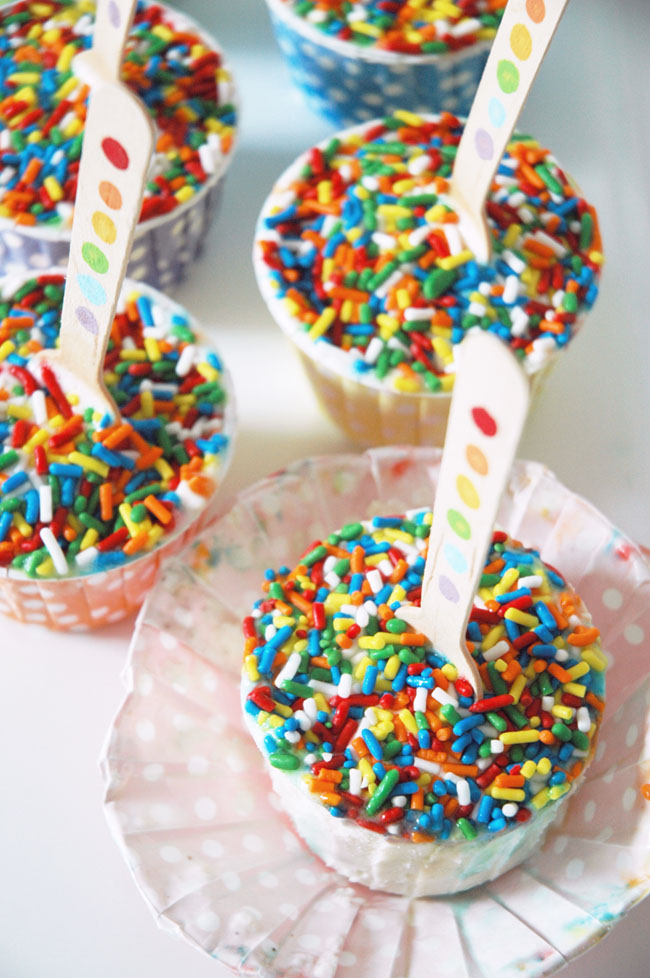
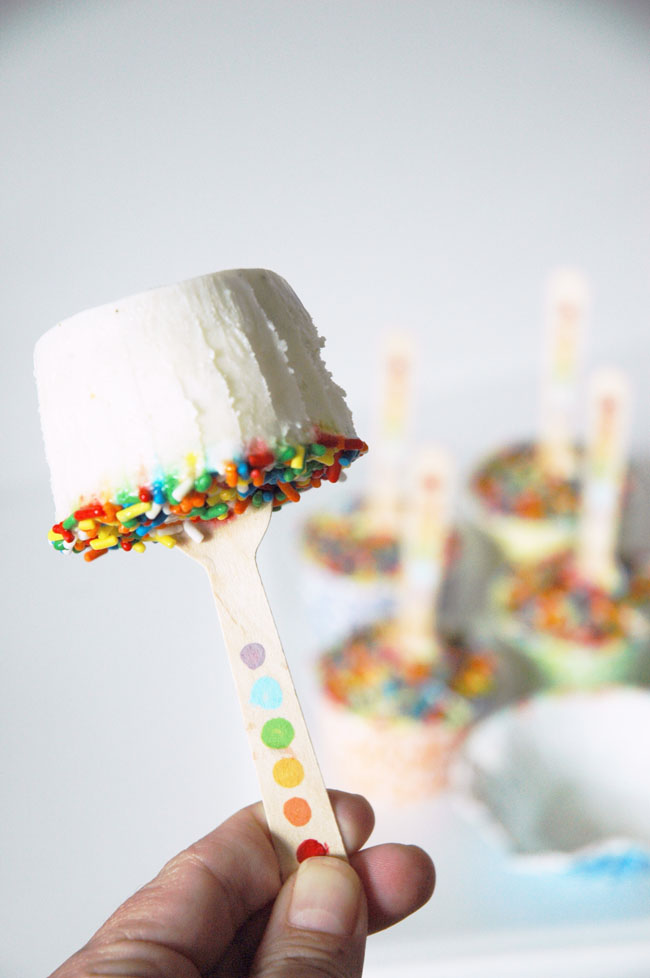
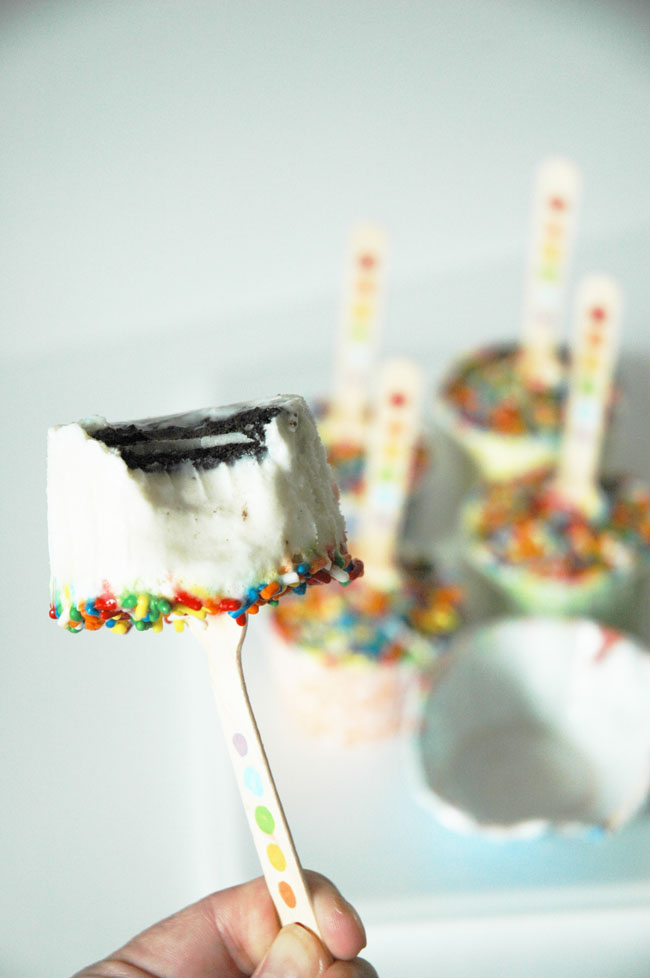
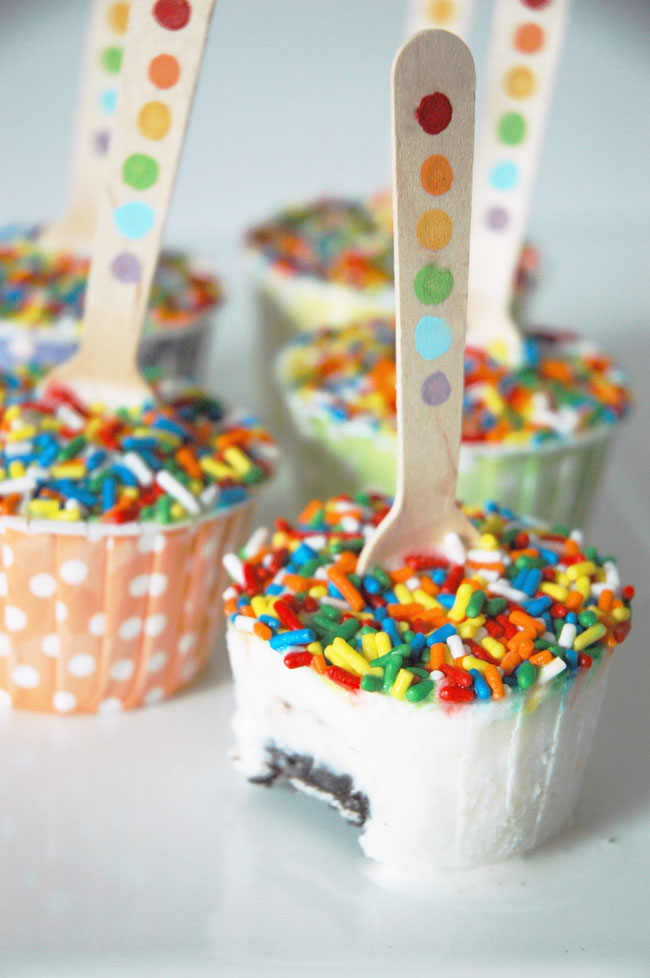
Hello sweet friends. It’s Jessica here and I’m thrilled to share with you a frozen treat today that is sure to delight your littles. These Rainbow Sprinkles Surprise Pops are the perfect way to either wrap up Summer or greet your kids at the end of the school day. The hidden Oreo™ cookie in the bottom adds an element of surprise to these darling ice cream pops! These super cute and super easy bite-sized treats are also perfectly adorable for your next Rainbow themed celebration! See the detailed instructions and material list at the bottom of the post.
MATERIALS NEEDED for 12 Rainbow Sprinkles Surprise Pops:
12 Rainbow Mix Candy Cups
12 Mini Wood Ice Cream Spoons
1/2 Gallon of Vanilla Ice Cream
12 Regular Oreo® Cookies – Double Stuff will be TOO thick for the insertion of the wood spoon – trust me!
Rainbow Sprinkles
Ziploc Bag for piping softened ice cream
Large Cup or Bowl to hold the Ziploc bag when you aren’t using it
INSTRUCTIONS (you’ll be working quickly to assemble and freeze)
1. Allow the ice cream to sit at room temperature for 10 minutes.
2. While the ice cream is softening, arrange Rainbow Candy Cups on a small tray or cookie sheet. Be sure the size of the tray will transfer easily to your freezer.
3. Gather the Oreos®, sprinkles and wood spoons and have them ready for the quick assembly process.
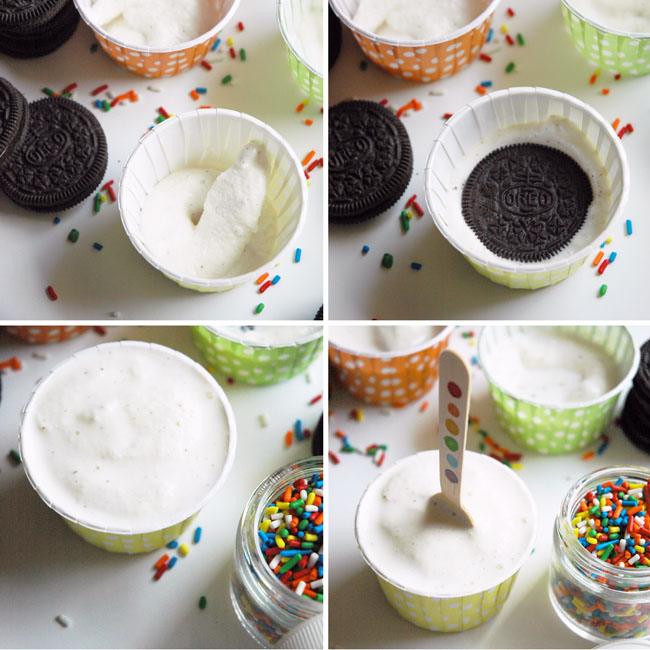
4. Using a large kitchen spoon, transfer the ice cream from container to a Ziploc bag and seal.
5. Snip off a corner of the Ziploc bag with scissors and pipe a small amount of ice cream into the bottom of each candy cup.
6. Press an Oreo® cookie into the piped ice cream without pushing it all the way to the bottom of the cup, unless you prefer to be able to see the Oreo® when it’s unwrapped.
7. Pipe on more ice cream until the candy cup is filled. If needed, use the back of a small spoon to smooth and level the ice cream. Be sure to leave just enough room to add sprinkles without having them spill over the edge of the candy cup.
8. Insert wooden spoon.
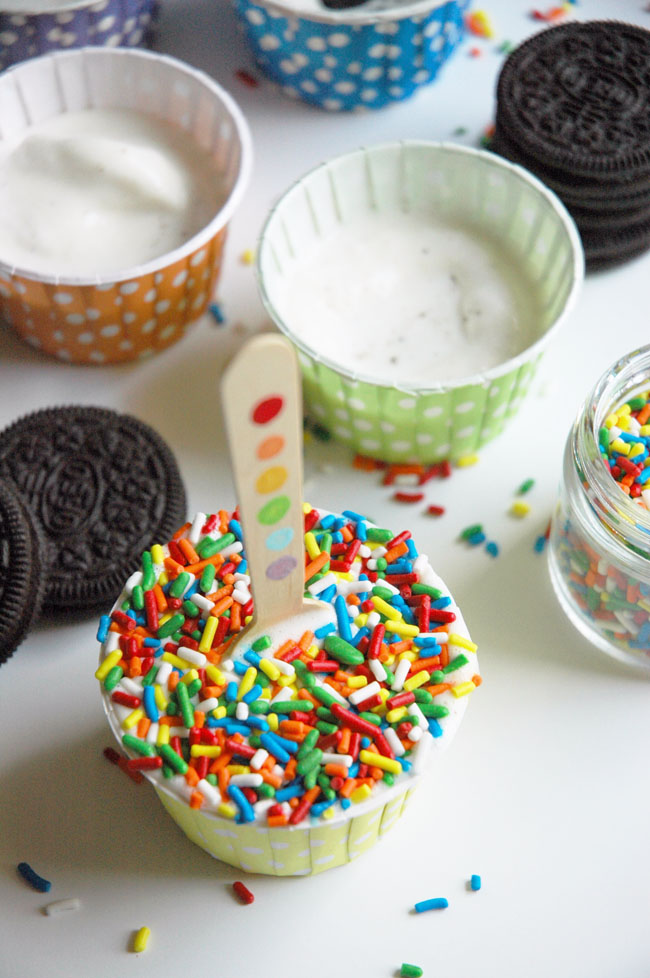
9. Add rainbow sprinkles to the top of the ice cream. I recommend doing this while standing over a sink or trash can.
10. Make sure your spoons are standing up straight and then place the completed Surprise Pops in freezer for 2-4 hours or until frozen solid.(If preparing for a party, overnight may be your best option).
11. Just before serving, dump off any loose sprinkles from each Surprise Pop that did not adhere during freezing.
11. Serve immediately.
Guests can easily unwrap the Surprise Pop and devour immediately. For guests who prefer to eat them with a spoon, DO NOT PEEL the candy cup off. Allow the ice cream to soften enough to remove the spoon. Either way, the Oreo™ Surprise inside is sure to create a lot of smiles.
Visit my blog for the DIY on creating the Rainbow Dot Mini Wood Spoons!
August 6, 2013
Post Date:
Leave a Reply
SUBSCRIBE
Don't miss a thing! Subscribe to our email list to keep up with our latest projects, listings, blog posts and giveaways!
Just LOVE this…fun in a cup 🙂
Ha! So cute!
Thank you Tina!! I’m thrilled you love it!!
THESE ARE BEYONE CUTE AND LOVE HOW EASY THEY ARE PUT TOGETHER. THANKS FOR SHARING. JUST DISCOVERED YOUR SITE AND AM A NEW FOLLOWER. IF YOU HAVE A MINUTE STOP BY TO VISIT DELICIOUSLY INSPIRED. CAN’T WAIT TO HAVE MORE TIME TO EXPLORE YOUR SITE.
DEBBIE – DELICIOUSLY INSPIRED
Thanks for stopping by, Debbie!
I’m so glad you love them Debbie! They really ARE easy to put together and so fun to eat too! *wink*
Hm…Im not sure about the kids loving this one…I think the adults would love this one more! How completely gorgeous is this and incredibly yummy. Us adults would be fighting the kids for this one…I wonder who would win?!
Perfect for both! I can’t wait to try them and “surprise” the kids! 🙂
Oh you’ll have to let me know what Tommy & Kate think of them Kim!!
With their love of Oreos (and ice cream for that matter)…I have no doubt they will love them!
Personally I am a huge fan of kids treats. It’s just a shame the kids want to eat them too….he he.
Ha!! I completely agree Catherine!! I’m that mom that hides treats so I know I can have my fix when I need it. *wink*
Haha…I am so with you on that one! Shared this around my networks 🙂
Catherine…Ha! You are right! Adults love them just as much as kids – if not a little more, only because we can really appreciate the simple pleasures in life! Am I right? I considered hiding them from the kids at first and eating them all myself but then I decided to share them. Only because I needed them to sample them and give me honest feedback before sharing them here. They LOVED them! And of course…so did I! I’m so glad you love them too! Thanks for commenting!!
I totally hide chocolate around the house. You have to…just in case you NEED it! One time I hid a chocolate bar and couldn’t find it. It turned up months later…no joke.
Love these!!
Yay!! I’m so happy to hear that Christina! Thanks for commenting. I hope you’ll try them and share your results here!!
LOVE THIS!
Thanks for taking the time to comment Margaret! I’m thrilled you love them and hope you’ll try them out!! I appreciate your sweet comment about the photography too! *blushing*
Excellent Photos.