welcome to
The tomkat studio blog
Search
How to Make A Paper Photo Ornament :: Craft Tutorial
Share To:
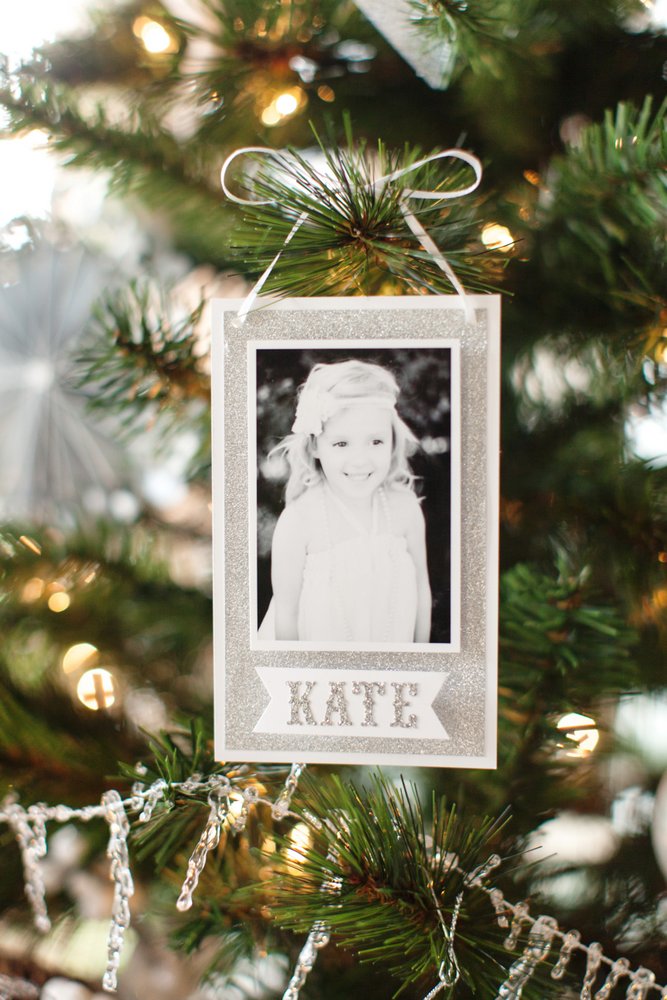
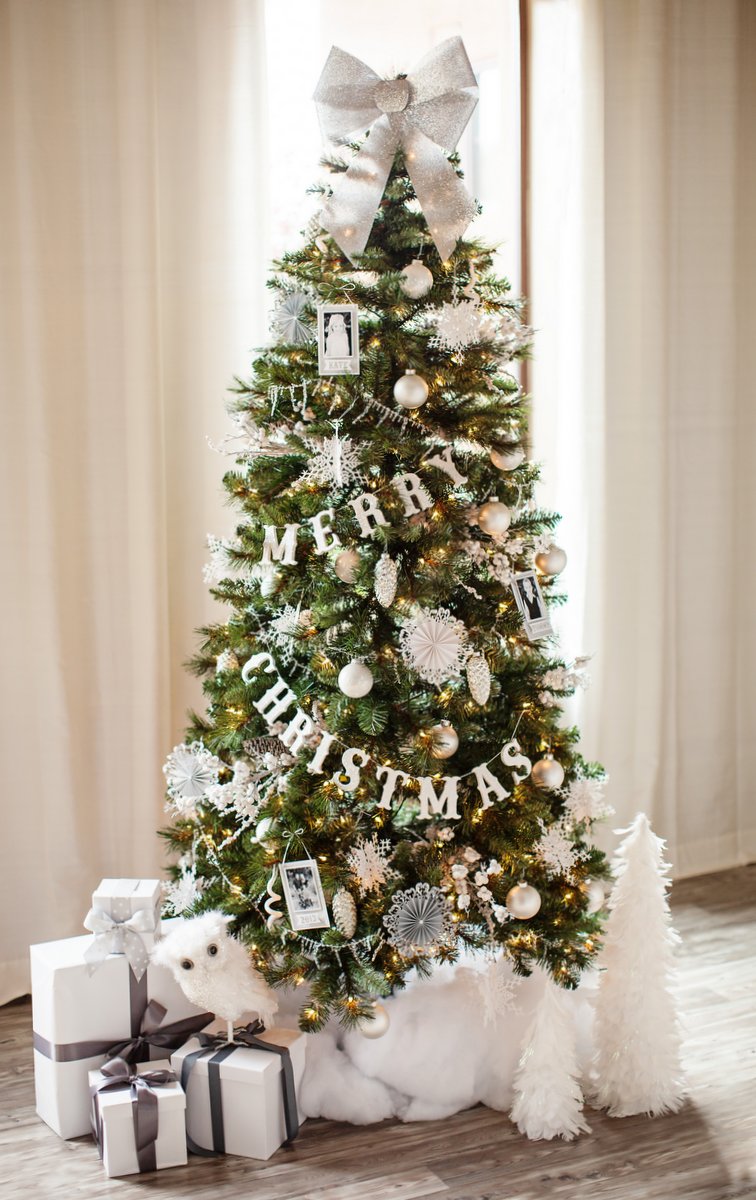
Hello friends! I hope you had a lovely long weekend! We spent the weekend up at our house in the pines with a nice mix of work and relaxation! It is coming together beautifully and I can’t wait to finish the decorating so I can have photos taken to show you the renovation. I absolutely love being up there because everything is brand new and exactly the style I am so into right now. I come home and want to organize and redecorate my whole house. (or maybe it’s time for a new one, again?) Ha! Anyway, back to Dream Tree decorating! In case you missed it, I participated in the Michaels Dream Tree Challenge this year and went with a “Let It Snow” white and silver tree. We styled and photographed it in my home office and I just can’t bring myself to take it down. It’s so pretty and gets me in the spirit of the holidays, which are right around the corner! Friday I shared the tutorial for How to Make a Christmas Tree Garland and today I am back with another tutorial to show you how to make these easy paper photo ornaments!
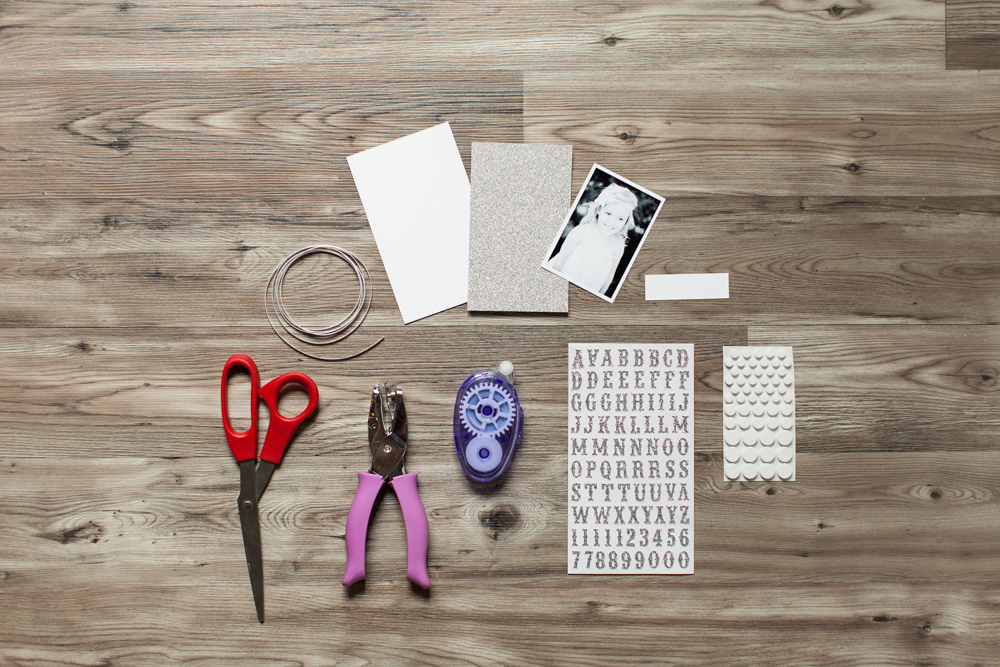
Supplies you will need (all available at Michaels):
- printed photo (cut to 2.5″ x 3.75″, including white border if desired)
- silver glitter cardstock (cut to 3″ x 5″)
- white heavyweight photo paper or cardstock (cut to 3.25″ x 5.5″ for backer and .75″ x 2.5″ for flag)
- stickos silver glitter alphabet stickers
- scissors or paper cutter
- small hole punch
- double sided tape roller
- foam dots
- 1/8″ white satin ribbon
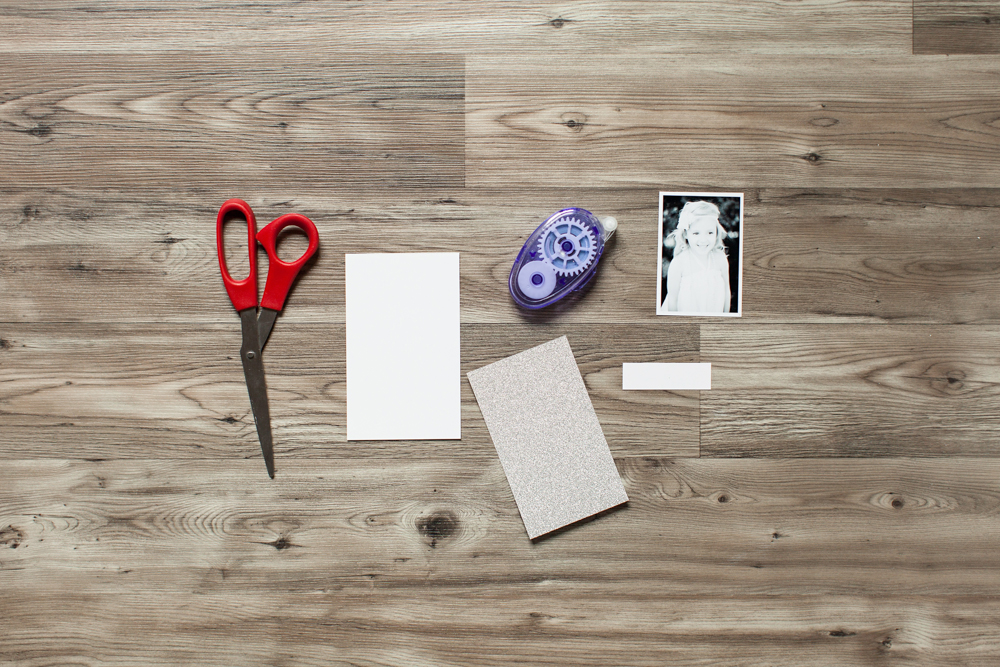
Step One: Use scissors or paper cutter to trim cardstock to the sizes listed above.
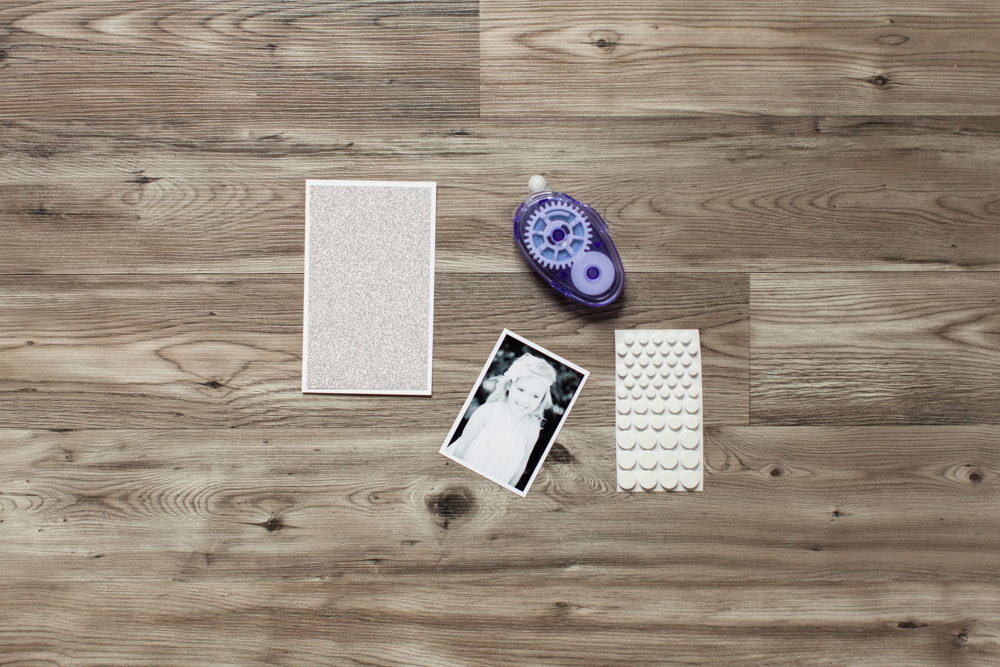
Step Two: Use double-sided tape roller to attach silver glitter paper to white backer.
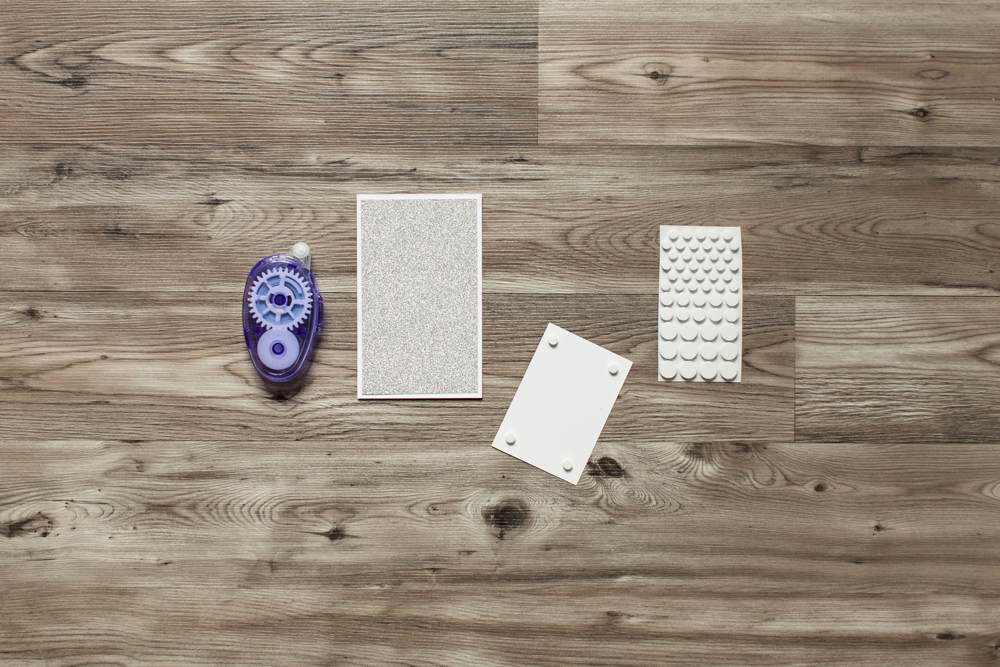
Step Three: Use foam dots to adhere photo on top of silver glitter paper.
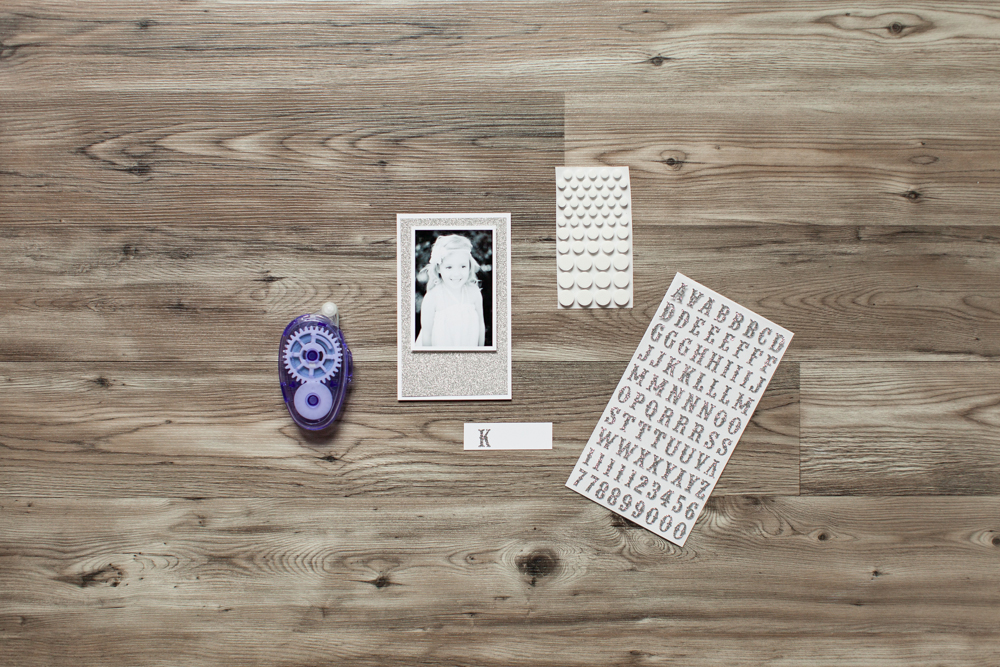
Step Four: Add silver glitter stickers to the small white cardstock cutout for flag.
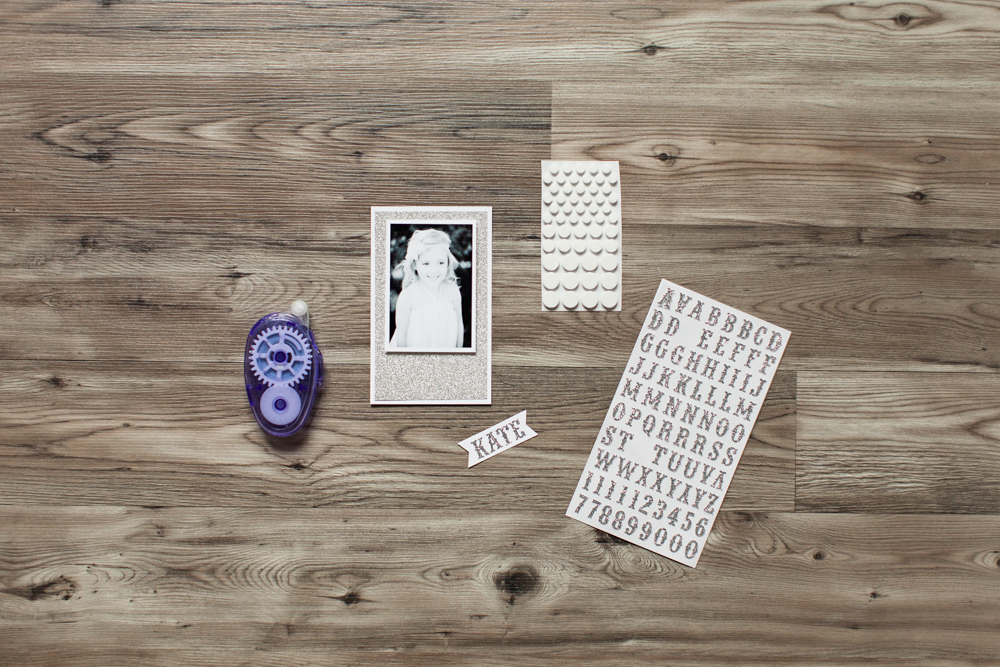
Step Five: Trim ends of name cardstock to create the two-point flag shape.

Step Six: Use foam dots (double layer to add extra dimension) to adhere name flag under photo.
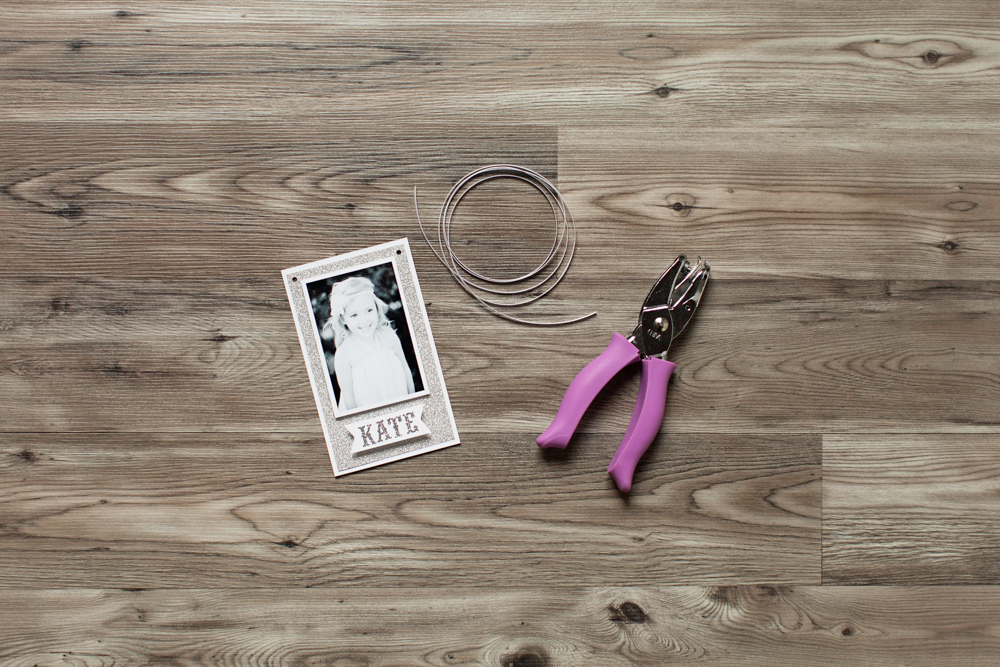
Step Seven: Use small hole punch to punch two holes at top of ornament. For hanging, tie a ribbon bow and then feed ends through holes and knot on the backside.
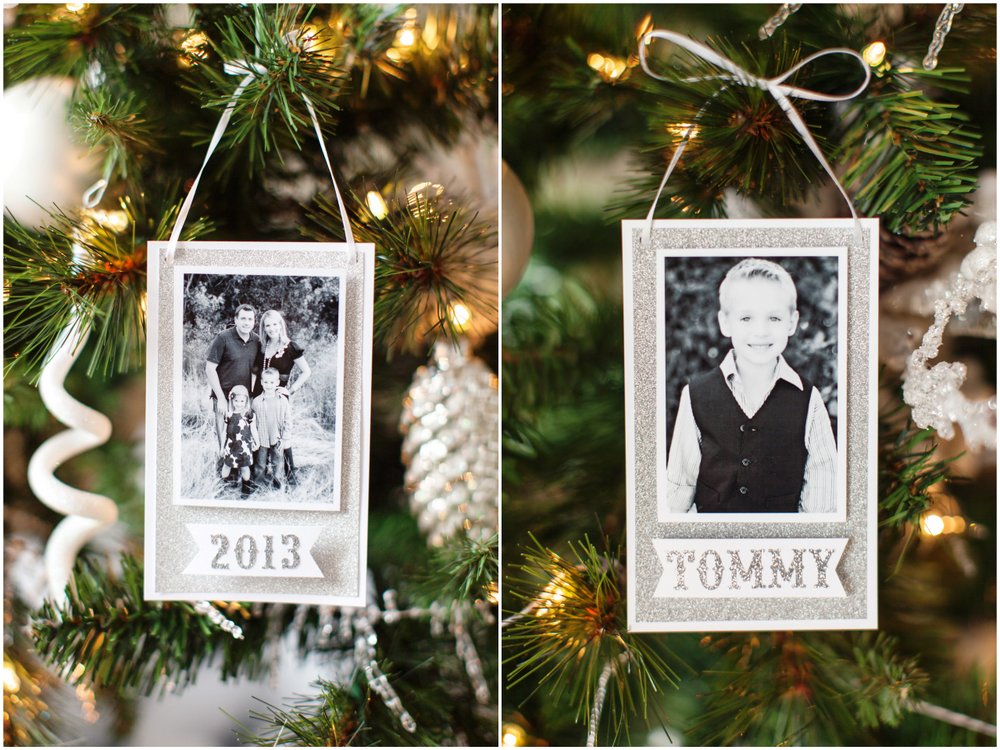
Cute and easy, right?
View my full tree for the Michael’s Dream Tree Challenge here!
Find the tutorial for the Merry Christmas Garland here!
PHOTOS BY RENNAI HOEFER, TEN22 STUDIO
THIS IS A SPONSORED POST. THE TOMKAT STUDIO HAS RECEIVED PAYMENT, TRADE AND/OR PRODUCTS FROM MICHAELS IN EXCHANGE FOR PROMOTING, HOWEVER ALL OPINIONS STATED ARE MY OWN AND I ONLY PROMOTE PRODUCTS I LOVE.
November 12, 2013
Post Date:
Leave a Reply
SUBSCRIBE
Don't miss a thing! Subscribe to our email list to keep up with our latest projects, listings, blog posts and giveaways!

Looks very easy and so cute! Can’t wait to make mine. Thanks.
Thank you! Have fun making them!
YES, super cute and easy! Thank goodness my Michaels DID have the silver glitter letters, I think I bought all they had! They still don’t have the wood letters in for the tree banner….wish Michaels had an online store. Kim-Let me know if your Michaels has a large supply…maybe I can get you to pick me up a set 🙂
Oh good! I will absolutely keep an eye out for the wood letters here. Rennai just texted me yesterday that it must be a popular project locally because most of the letters spelling “Merry Christmas” were sold out at our store. 🙂 But I will keep checking for you!
Bought my tree bow topper….love it….can’t wait to put my tree up now!
Perfect!
Those specific wood letters are only carried at the bigger Michael stores… I found the bigger store locations had double the selection of wood letters. I live in the Dallas area and found them at the Southlake and Greenville locations… Checked 5 other stores that did not carry them.
Such a bummer 🙁
These photo ornaments would make darling gift tags too!
Funny, Susan….I did some tags too for another project that I will post soon! 🙂
These ornaments are really nice! I like the silver with the black and white photos. Very pretty.
Thank you, Lisa!
Very nice decorated Christmas tree. I really like 🙂
Thank you, Keiel!
Hello Kim, LOVE what you did with the tree!!! Every single detail about it. I tried looking up the tutorial on paper medallion but it redirected me to paper picture frame tutorial…. Could you tell me if you used a paper punch or paper already punched out? And where I’m able to get either one of them…
Thanks in advance 🙂
-Inna
Hi Inna,
We used a paper punch. I will be posting the tutorial for these soon, as soon as the other shoot is published for Pottery Barn Kids! I am sorry I don’t have it ready yet!
These are so pretty!
I want to make them, and was wondering if you had a different dimension to do a longer name! ((8 – 9 letters for my names!)